
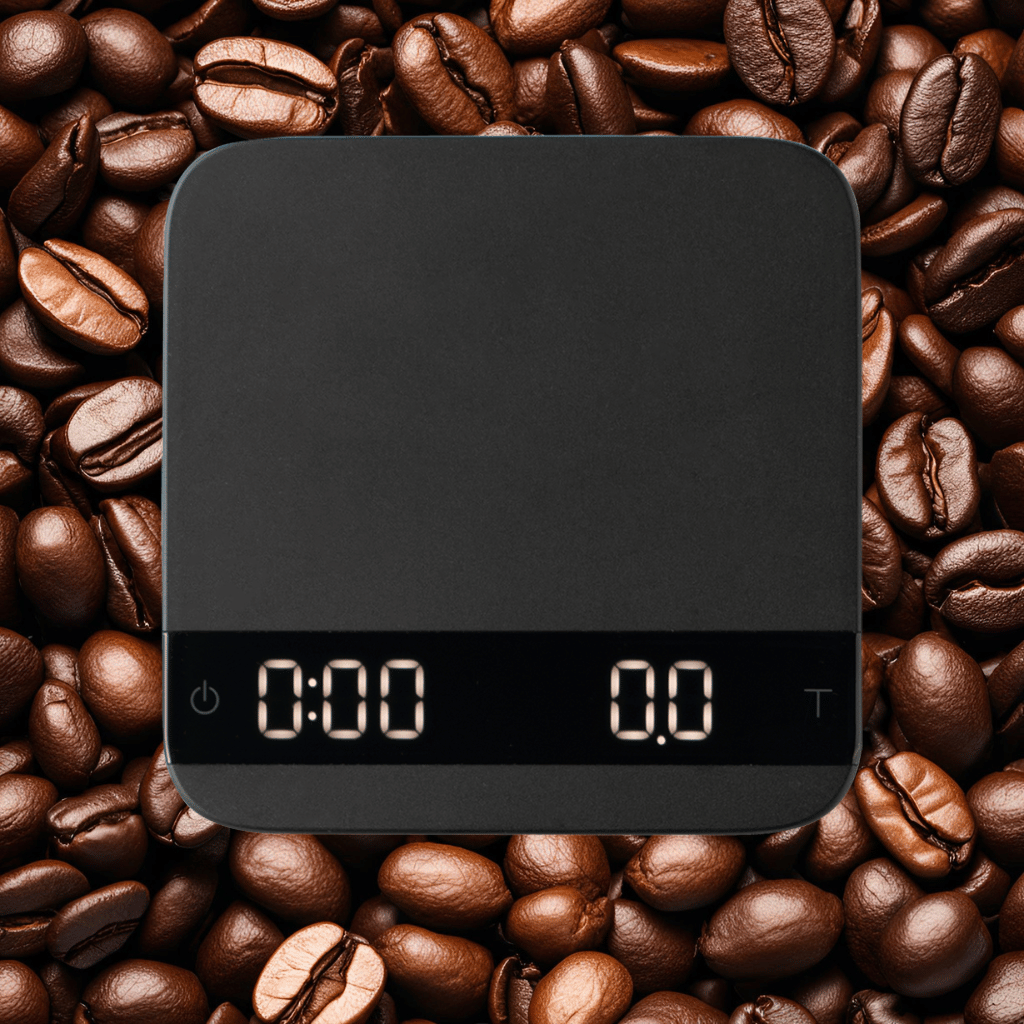
How to Brew by Weight
Weighing your coffee makes a recipe easier to repeat when you change beans, roast level or grind. Start with 10 grams of coffee per 150 g of water, then adjust to taste.
Why not scoops?
Scoops are the most common way to measure coffee, and also one of the least precise.

Dosing spoons used to come with ground coffee and coffee makers, each sized for a particular roast, grind and serving. Now that coffee comes in any roast level and grinders adjust, a scoop is not a reliable measure.
Here are two samples, one light roast and one dark roast. Each is the amount needed to brew a single serving.

The dark roast sample on the right takes a larger volume of beans. Coffee releases CO2 and moisture as it roasts, so dark roasted beans are less dense and weigh less. Measured by volume, you need more scoops of dark roast to get the same strength, and the error grows with every added serving.
Weighing fixes this. It works the same for any coffee, brew method or grind. It may seem like extra work at first, but the method below is simple to remember.
Choosing a scale
Affiliate links (*): some links on this page are affiliate links. If you choose to buy through them, SteffenMarkkus may earn a small commission at no extra cost to you. Each affiliate link is marked with an asterisk.
A kitchen scale, jewelry scale or coffee brewing scale all work, as long as it reads in 0.1 gram steps. Here are three scales I use every day:
*American Weigh Scales (AWS) Blade Pocket Scale (Amazon.com)

An inexpensive scale that is convenient for weighing beans and grounds. The blade slides closed when it is not in use, and it comes with a case. It responds quickly and reads from 0.1 g up to 1 kg (2.2 lb). It is not waterproof, so keep water off it.
*Hario V60 Drip Scale (Amazon.com)

A mid-priced scale with 0.1 g resolution and a capacity up to 2 kg (4.4 lb). It has a built-in timer, which suits timed brews, and a large platform that fits brew pots. It is designed for pour-overs.
Acaia Lunar scale (Acaia.com)

Acaia scales are precision scales for dosing grounds and brewing. They also measure brew time and flow rate (useful for espresso), have configurable timers, recharge, and have a mobile app for reviewing brews. The Lunar is the compact version, made for use with espresso machines.
Dosing with a scale
These recipes are broad starting points that cover several brew methods. Espresso and moka pots get their own notes below.
Automatic coffee makers
The standard serving for most automatic coffee makers in the US is 5 fluid ounces, or just under 150 ml. Check your brewer's serving size. The rule is easy to do in your head:
2 g of coffee per fluid ounce of water, or 10 g of coffee per 5 fl oz serving.

*OXO 8-Cup Automatic Brewer (Amazon.com), with 150 ml / 5 fl oz fill lines
For two servings use 20 g, for three use 30 g, and so on. If your brewer's serving is 6 fl oz, use 12 g per serving. For 8 fl oz servings, use 16 g. Adjust the total up or down in 1 gram steps to find your strength.
Brewers without fill lines, and pour-overs
For these, use the scale for water too. One milliliter of water weighs one gram, so 150 ml of water is 150 g. Put the brewer on the scale, add the coffee, zero the scale, then pour the water by weight.
10 g of coffee per 150 g (150 ml) of water.
Two servings is 300 g of water and 20 g of coffee. Four servings is 600 g of water and 40 g of coffee. Adjust the coffee in 1 gram steps to find your strength.
Special cases
Moka pot
Moka pots come in several sizes. If you do not know yours, fill the lower chamber to the line just below the pressure valve and measure the water in ml. For this recipe, use 10 g of coffee per 100 ml of water, which means dividing the capacity by 10. A 130 ml pot takes 13 g. Choose a grind setting where the dose fits in the basket without packing it down, then fill the lower chamber to the line and brew. Our moka pot guide has the full steps.

*Bialetti Moka Pot (Amazon affiliate)
Espresso
Many home espresso machines use a 58 mm portafilter basket. Baskets hold anywhere from about 14 to 22 g of coffee, so check your machine's manual for the right dose. Weigh the dose, fill the basket, and tamp according to your machine's instructions. Output is measured by the weight of the liquid:
- Ristretto: output equal to the dose, in about 10-15 seconds.
- Espresso: output of twice the dose, in about 20-25 seconds.
- Lungo: output of three times the dose, in about 35-40 seconds.
With an 18 g basket, that is 18 g out for a ristretto, 36 g for an espresso and 54 g for a lungo. Weigh the liquid in grams. Use these times as a starting point, adjust the grind to hit them, then adjust to taste. Lighter roasts usually need a finer grind.
Fine-tuning flavor
Once strength is set, use the grind to balance flavor. Coffee can taste bitter, sweet or sour. Light roasts are denser and need more contact with water than dark roasts, and grind size is how you adjust that contact. Finer grinds add surface area and contact. Coarser grinds do the opposite. Too fine can taste astringent or very bitter (over-extracted). Too coarse can taste weak or sour (under-extracted). So go finer to reduce sourness and coarser to reduce bitterness.
Telling sour from bitter
Sour and bitter are easy to mix up. Sour reminds you of lemon or lime and, at the extreme, is sharp like unsweetened lemonade. Bitter can leave an aftertaste like walnuts or beer, and at the extreme is astringent, like a dry mouth after biting a green banana.
To train your palate, take a very light roast and brew it three ways with the same dose: one coarse, one fine, and one in the middle. Taste them side by side.
Change one variable at a time and write down the recipe you prefer.